There are no limits to the different surfaces and subjects to which an airbrush can be used on. Aside from the potential limitations of the paint applicable for the application, and its ability or inability to be thinned out to a necessary viscosity.
Truth be told,
You can airbrush on virtually any surface or subject imaginable as long as the paint used for said application is stable enough to be reduced down to a viscosity that will function well with the airbrush without resulting in binder poor paint.
Complete List Of Airbrushable Surfaces
Before you go airbrushing on any of the following surfaces or subjects, it is vital you take the time to prep the surface by cleaning it using a degreaser if necessary. This will allow the paint to stick far better then otherwise, and last far longer.
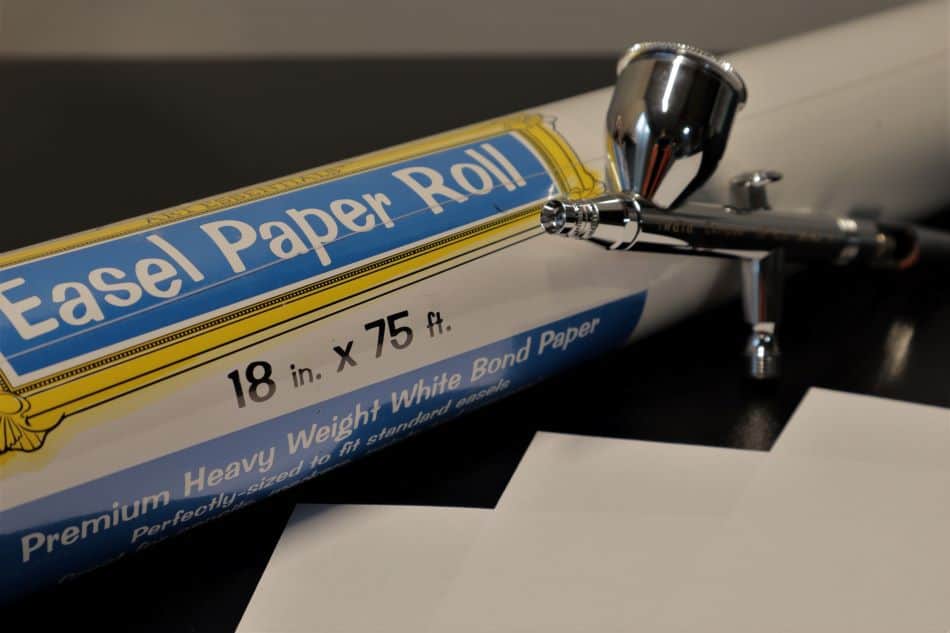
Paper – You can airbrush on paper, but you must airbrush in light coats and allow for plenty of dry time between coats. Otherwise, you’ll soak the paper causing it to wrinkle. You can purchase airbrush paper that is specifically designed for airbrush use. As it is waterproof and far thicker then common place printer paper. The only downside is airbrush paper can be expensive. Paper in general, is great for practicing your airbrush skills on.
Canvas – You can airbrush on canvas by laying down a priming coat or two of gesso. Once dry, sand the gesso smooth using 240 grit followed by 320 grit sand paper, then airbrush in light coats, allowing for plenty of dry time between each coat.
Plastic – You can airbrush on plastic, just be aware, due to plastics non-porous surface, paint will puddle quickly & easily if too much paint is applied in the same spot without enough dry time between coats. To airbrush on plastic, refrain from using solvent-based products, and work in very light coats, allowing for plenty of dry time between each coat. Solvent-based paints can melt / damage plastic, depending on the chemical makeup of the paint. Be cautious using solvents on plastic.
Vinyl – You can airbrush on vinyl or use vinyl wrap to make positive and negative airbrush stencils. To airbrush on vinyl, degrease the surface using a mild degreaser and airbrush the paint on in very light coats, allowing plenty of dry time between each coat.
Wood – You can airbrush on wood, preferably after you’ve put down a sealer. Given wood is porous, it will absorb the airbrush paint causing your lines to mesh together and fail in some cases. A wood sealer will provide a solid barrier for the paint to rest on and dry.
Glass – You can airbrush on glass, but like other non-porous surfaces. You must work in light coats, allowing plenty of dry time between each coat. For best results, clean the surface thoroughly and do not touch the surface till the painting is sealed and dry.
Leather – You can airbrush on leather using an airbrush worthy paint such as angelus leather paint. Degrease the leather surface using isopropyl alcohol & sanding the surface using a very fine grit sandpaper if necessary.
Fabric / Clothing – You can airbrush on fabric using thicker viscosity paint, and higher air pressure to embed the paint deeper into the clothing for longer lasting fade resistant artwork. Depending on the paint used, once finished with your artwork, you may be able to fully cure the paint by applying a bit of heat to the painting. This will better improve the longevity of the artwork.
Skin – You can airbrush on skin using either airbrush makeup or body paint. You must ensure the product is safe on skin, and never use air pressure greater than 15psi on skin. Both, paint that is not labeled as skin safe and air pressure greater than 15psi can be very dangerous to the participant.
Food – You can airbrush on food, as pastries are a popular choice to be airbrushed on. Only do so using edible colorings and an airbrush that is food grade. Never use an airbrush that has been exposed to non-edible paint products, doing so could cause harm.
Conclusion
The major deciding factor as to whether or not a surface can be airbrushed on will come down to the paint applicable for the job and whether or not it can be thinned out to a viscosity that will function well with the airbrush.
Though most paints can be thinned down to the consistency of milk (Which is required for airbrush use), some can not. The result for some will make the paint binder poor.
Essentially meaning the glue within the paint is so diluted with reducer that it no longer has the structural capability, once dry, to hold together as it was intended.
Aside from possibly limitations the paint may have (Depending on the paint application specs), most surfaces and or objects can be airbrushed on. You’ll have to adjust your air pressure down on sensitive surfaces like skin, but limitations don’t really exist specific to the surface type that can be airbrushed on.
I hope you were able to find some value here! If you have any further questions regarding the airbrush do be sure to take a look around the website. Airbrush Insider is dedicated to helping all in the airbrush community!
This is Colt signing off!
Check Out Some Of My Favorite Airbrush Equipment:
- My Favorite Airbrush To Date!
- The Air Compressor I Currently Use, And Why I’m Never Going Back To A Traditional “Airbrush Compressor”!
- My All Time Favorite Airbrush Paint’s For Ease Of Use & Versatility!
Next Recommended Resources: