Tip dry, in airbrush terms, Is the occurrence of dry paint building up on the tip of the airbrush needle. Eventually building up to the point it begins to plug the airbrush nozzle, restricting paint from flowing.
Tip dry is a very common occurrence, and is simply just a part of airbrushing.
For further details on cleaning tip dry, as well as minimizing it, continue on!
How Often Tip Dry Occurs
Tip dry can occur in as little as every few minutes during an airbrush session.
The biggest determining factor when it comes to how often tip dry occurs will depend heavily on the paint type your using.
Water based paints tend to have a lot of trouble with tip dry… Meaning, tip dry occurs very often when using water based paints.
However, oil / solvent based paints don’t commonly deal with tip dry as often.
Granted it depends heavily on the medium being used in the paint. Commonly, the quicker a paint air drys, the more your going to deal with tip dry.
Paints such as urethanes, which don’t dry, they cure. Meaning its a chemical reaction that occurs in order to harden the paint, don’t commonly deal with tip dry. However, there is much more to worry about health wise when it comes to using urethane then simply tip dry.
Symptoms Of Tip Dry
You’ll know your dealing with Tip Dry if you begin to notice the airbrush is less responsive than usual. Meaning, you have to pull the trigger back farther in order to get the paint to flow from the airbrush. (Specifically, when using a double action airbrush)
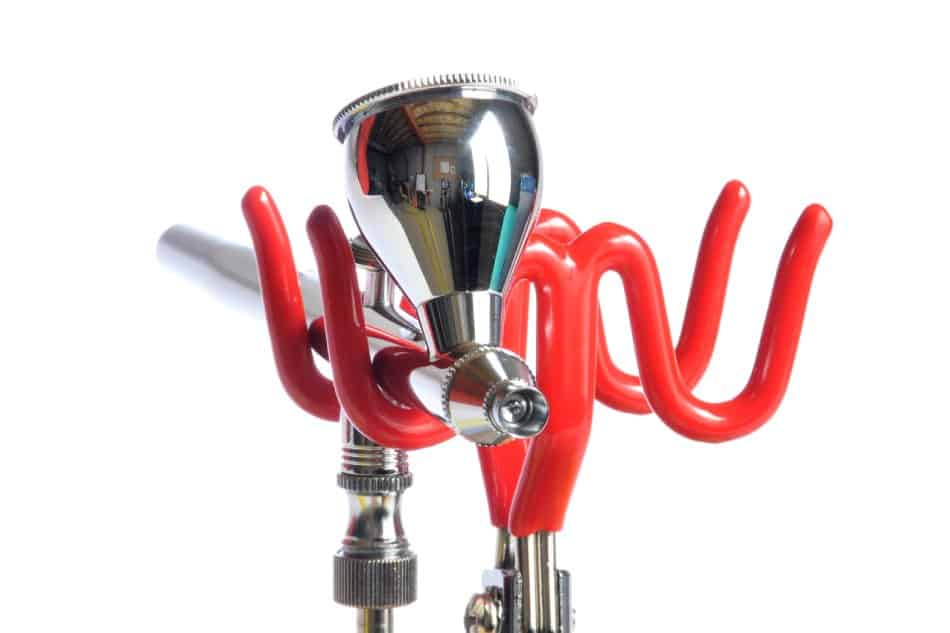
You can spot tip dry by simply taking a look at the tip of the airbrush needle. If you see dry paint on the needle tip, that is “Tip Dry”.
If tip dry is left to build up on the tip of the needle, eventually you’ll be pulling back so far on the trigger that the “tip dry” (dry paint) will come blasting off the tip of the needle, along with a rush of paint.
As if the floodgates of a dam failed, allowing heaps of water to come rushing through…
For this reason, its very important you take the time to clean off tip dry as it begins to occur. Otherwise you could be dealing with a large splat of paint on your artwork…
Methods For Cleaning Off Tip Dry
Keep in mind, when it comes to cleaning tip dry, you must do so gently. The needle tip of an airbrush is very delicate and can easily be bent. Rendering the airbrush potentially useless, until the needle is either fixed, or replaced.
Yes you can fix a bent needle, but it’s best if you can avoid it.
If you do end up bending your needle, take a look at my recent article on the topic: How to fix a bent needle. It will walk you through what you need to know, and how to fix it.
Anyway, a few options for cleaning tip dry are as follows:
- Many will simply use their fingers by gently pinching the tip of the needle using their pointer finger and thumb. Then simply twisting, and pulling away from the airbrush…
- A sponge dampened with a little bit of airbrush cleaner is a good, and easy method. Simply poke the needle tip into the dampened sponge and twist.
- Another option is to simply use a toothbrush slightly dampened with airbrush cleaner, and gently brush the needle tip.
- As well, A q-tip dampened with airbrush cleaner, and gently swirled around the needle tip.
Note, many airbrushes come equipped with a needle tip guard, otherwise known as a crown. Simply put, its function is to protect the needle tip from getting bent or damaged.
However, many find themselves having to remove this needle guard in order to clean tip dry as it occurs. I, along with many other airbrush artists simply airbrush without this needle guard on.
Given how often tip dry occurs, it just gets in the way, way to much…
How To Minimize The Occurrence Of Tip Dry
I actually have an article that dives deep into methods for reducing tip dry, to which can be found here under: How to reduce airbrush tip dry.
Do note, I say “Reduce / Minimize” instead of “Stop” tip dry. Simply because tip dry is just a part of airbrushing. Granted it occurs more often when airbrushing using water based paints then oil / solvent based paints…
Anyway, a few simple methods for reducing how often tip dry occurs:
- Proper sequencing of the airbrush during operation (Double Action Airbrush Specifically). Simply put, controlling the airbrush in a manner that limits the amount of tip dry that can occur. You can learn proper sequencing of a double action airbrush by viewing my article on the subject of controlling an airbrush.
- Use paint retarder, or flow improver in your paint
- Use needle lube
- Polish the tip of the needle (More for advanced users)
- Over reduce your paint, and turn down the PSI (Air pressure)
More Info for each method can be found Here!
Anyway, I hope you were able to find some value here! If you have any further questions regarding the airbrush do be sure to take a look around the website. Airbrush Insider is dedicated to helping all in the airbrush community!
This is Colt signing off!
Check Out Some Of My Favorite Airbrush Equipment: