Want to know how to airbrush enamel paint without clogs, frustration, or ruined parts? You’re in the right place.
Enamel paint creates gorgeous, durable finishes that modelers and artists love—but only if you thin it properly, spray at the right pressure, and clean your airbrush thoroughly afterward.
In this guide, I’ll show you everything you need to know, including:
✅ How to thin enamel paint (and why you must)
✅ Recommended paint-to-thinner ratios for top brands
✅ Best air pressures for spraying
✅ How to clean your airbrush after enamels
✅ My go-to products and gear
Let’s get your enamel paints spraying like a dream!
First – Can Enamel Paint Be Used in an Airbrush?
Yes—you absolutely can spray enamel paint through an airbrush.
Both solvent-based and water-based enamel paints work well in airbrushes as long as you thin them properly and clean your equipment immediately afterward.
Enamels produce a smooth, glossy, durable finish ideal for scale models, automotive parts, and many other projects. Just remember:
- Thin enamel paint to the consistency of milk
- Use the correct thinner for your brand and paint type
- Spray at the right air pressure (usually 15–20 PSI)
- Clean your airbrush thoroughly to prevent permanent clogs
Done right, enamel paints can deliver spectacular results through your airbrush.
Why Airbrush Enamel Paint?
Enamel paints have been a favorite among modelers, automotive painters, and artists for decades. Here’s why:
✅ Benefits:
- Durable finish: Once cured, enamels form a hard, glossy surface that’s tough to chip.
- Smooth results: Ideal for scale models, car bodies, or any project needing a glassy finish.
- Rich color: Excellent pigment coverage and vibrant hues.
⚠️ Challenges:
- Strong odors (especially solvent-based types)
- Potential health hazards without proper safety gear
- Tougher cleanup compared to acrylics
- Must be thinned correctly to avoid clogs
The good news? Once you master the process, enamels are incredibly rewarding to use.
Types of Enamel Paint
Enamel paints come in two main varieties:
- Solvent-Based (Oil-Based):
- Require enamel thinners or mineral spirits
- Strong smell
- Most common type used by hobbyists
- Water-Based Enamels:
- Lower odor
- Clean up with water
- Less common but growing in popularity
Both can be airbrushed—but thinning and cleaning methods differ slightly.
How to Thin Enamel Paint for Airbrushing
This is the #1 key to success. Too thick, and your airbrush will clog or sputter. Too thin, and the paint will run or lose coverage.
My Step-by-Step Thinning Process (Solvent-Based Enamels)
Thinning enamel paint for airbrushing isn’t just a step—it’s the step that can make or break your painting results. Whether you’re a beginner getting ready to paint your first scale model or an advanced hobbyist seeking the ultimate glass-smooth finish, mastering this process is key.
Today, we’ll dive into everything you need to know:
✅ Why thinning matters
✅ The best thinners & solvents (with brand names you can trust)
✅ Precise mixing ratios for popular paint brands
✅ How to judge perfect paint consistency
✅ Real-life examples and mixing process visuals
Let’s get you spraying those flawless enamel layers you’ve always wanted! 🚀
Why Thinning Enamel Paint Is Important for Airbrushing
So… why thin at all?
Enamel paints, straight from the tin or bottle, are usually far too thick for an airbrush. Here’s why thinning matters:
🔹 Atomization: Thick paint struggles to atomize into a fine spray. You’ll get spattering, rough texture, or even clogs.
🔹 Smoothness: Thinned paint lays down smoother, avoiding brush marks or orange peel textures.
🔹 Control: Thinned paint lets you apply thin coats gradually—essential for subtle shading, fine details, and scale realism.
🔹 Drying & Curing: Proper thinning prevents excessive build-up, helping each coat cure properly without wrinkling or cracking.
Remember: enamel paints don’t behave like acrylics. They’re oil-based, slower-drying, and their solvents are more aggressive. Thinning them correctly makes all the difference.
Thinners and Solvents for Enamel Paints
Choosing your thinner isn’t just a technical decision—it’s an artistic one. Different thinners affect:
✅ Drying speed
✅ Gloss level
✅ Smoothness
✅ Odor and toxicity
Here’s a closer look at your options:
💧 Mineral Spirits (White Spirit)
- Widely available, inexpensive
- Slower drying time—great for larger coverage
- Slightly less “bite,” so safer on delicate plastic
- Compatible with many hobby enamels (e.g. Humbrol, Testors)
Downside: Can leave a satin or semi-gloss finish rather than full gloss in some brands.
🛢️ Enamel Thinner (Brand-Specific)
Many brands sell proprietary enamel thinners:
- Humbrol Enamel Thinners
- Testors Enamel Thinner
- Model Master Enamel Thinner
These are chemically formulated to match their own paint lines, ensuring:
✅ Consistent gloss levels
✅ Predictable drying times
✅ Lower risk of pigment separation
Pro Tip: If you’re using branded enamel paint and want safe results, start with the same brand’s thinner.
🔬 Lacquer Thinner (Caution!)
- Super-hot solvent
- Evaporates quickly
- Can achieve ultra-smooth finishes
BUT… it’s risky. Too much lacquer thinner:
🚫 Can melt plastic kits
🚫 Might cause paint crazing or cracks
🚫 Has very strong fumes
Use only in tiny quantities if you’re experimenting—and always test on scrap plastic first!
💡 Odorless Mineral Spirits
- Gentler alternative
- Lower smell, safer indoors
- Good for enamel hobby paints
Drawback: slower drying, which might frustrate impatient painters.
Thinners Table
| Thinner Type | Good For | Brands to Consider | Notes |
|---|---|---|---|
| Mineral Spirits | General thinning, large areas | Klean-Strip, Crown, hardware store | May lower gloss slightly |
| Brand-Specific Enamel Thinner | Best compatibility, gloss retention | Humbrol, Testors, Model Master | Safest bet for matching finishes |
| Lacquer Thinner | Ultra-smooth finishes (risky) | Mr. Color Leveling Thinner, Tamiya Lacquer Thinner | Hot solvent, use sparingly |
| Odorless Mineral Spirits | Indoor use, sensitive users | Winsor & Newton, Mona Lisa | Slower drying, good for details |
Enamel Paint Airbrush Ratios (Mixing Chart)
Here’s the million-dollar question: How much thinner for enamel paint?
Unlike acrylics, enamels vary a lot in viscosity. But as a general rule:
🔸 Start around 1:1 (equal parts paint and thinner).
From there, adjust based on your needs. Below are real-world ratios hobbyists often use:
🎯 Recommended Thinning Ratios for Popular Brands
| Brand | Starting Ratio (Paint : Thinner) | Recommended Thinner |
|---|---|---|
| Testors | 3:1 | Testors Enamel Thinner |
| Humbrol | 2:1 | Humbrol Enamel Thinners |
| Revell | 3:1 | Revell Color Mix |
| Tamiya | 2:1 | Tamiya Enamel Thinner |
Tip: Always check your paint label or the manufacturer’s website. Formulas sometimes change!
How to Judge Proper Paint Consistency 🎯
Ratios are guidelines. What really matters? The paint’s behavior.
Here’s how pros check if enamel paint is thinned enough for airbrushing:
✅ Viscosity Test: Lift your stir stick from the cup. The paint should:
- Flow in a smooth, even ribbon
- Not “glop” or form lumps
- Resemble whole milk’s thickness
✅ Drop Test: Let a drop fall back into the cup. It should disappear quickly, not sit on top.
✅ Cup Wall Test: Swirl the cup gently. A thin, even paint layer should coat the cup walls—not a thick, opaque sludge.
✨ “Milk vs. Cream” Analogy
- Too Thick (Cream):
- Spits from airbrush
- Rough texture
- Clogs needle or tip
- Just Right (Milk):
- Smooth spray pattern
- Even coverage
- Great flow through airbrush
Visual Guide to Paint Consistency 🖌️
| Visual Clue | Meaning |
|---|---|
| Thick, lumps stick to stir stick | Too thick, needs more thinner |
| Smooth stream, drips like milk | Perfect consistency |
| Splattering or spitting from airbrush | Still too thick |
| Running off surfaces, puddling | Too thin, add paint |
Expert Tips for Thinning Enamels Like a Pro
✅ Always mix small batches. Enamels dry slowly but can still settle and separate if left too long.
✅ Label your mixes. Note the ratios and brand used for future reference.
✅ Use glass or disposable cups. Enamel solvents can melt some plastic containers.
✅ Ventilation is non-negotiable. Even odorless thinners contain harmful vapors—use a spray booth or respirator.
✅ Test on scrap plastic first. Especially if trying lacquer thinners or mixing brands.
✅ Stir thoroughly. Pigments sink fast in enamels—get every bit mixed in
Ideal Air Pressure for Spraying Enamels
When airbrushing enamels, start around:
- 15–20 PSI for most general spraying
- Lower pressures for fine lines or delicate work
- Higher pressures if paint is thicker or heavily pigmented
If your airbrush spits, sputters, or sprays dry grainy paint, adjust either your thinner ratio or your air pressure.
How to Clean Your Airbrush After Using Enamel Paint
This part is non-negotiable. Enamel paints are engineered to be tough—which means once they cure inside your airbrush, they’re extremely difficult to remove.
Here’s how I clean my airbrush after spraying enamels:
Colt’s Quick Cleaning Routine
- Dump out any leftover paint from the cup.
- Pour in a small amount of enamel thinner.
- Spray thinner through the airbrush until it sprays clear.
- Disassemble nozzle and needle carefully.
- Clean all parts with enamel thinner and a soft brush or cotton swabs.
- Reassemble the airbrush.
- Spray a final blast of thinner to ensure everything is clear.
Don’t skip this step—an airbrush ruined by hardened enamel is a sad, expensive story I’ve heard far too often!
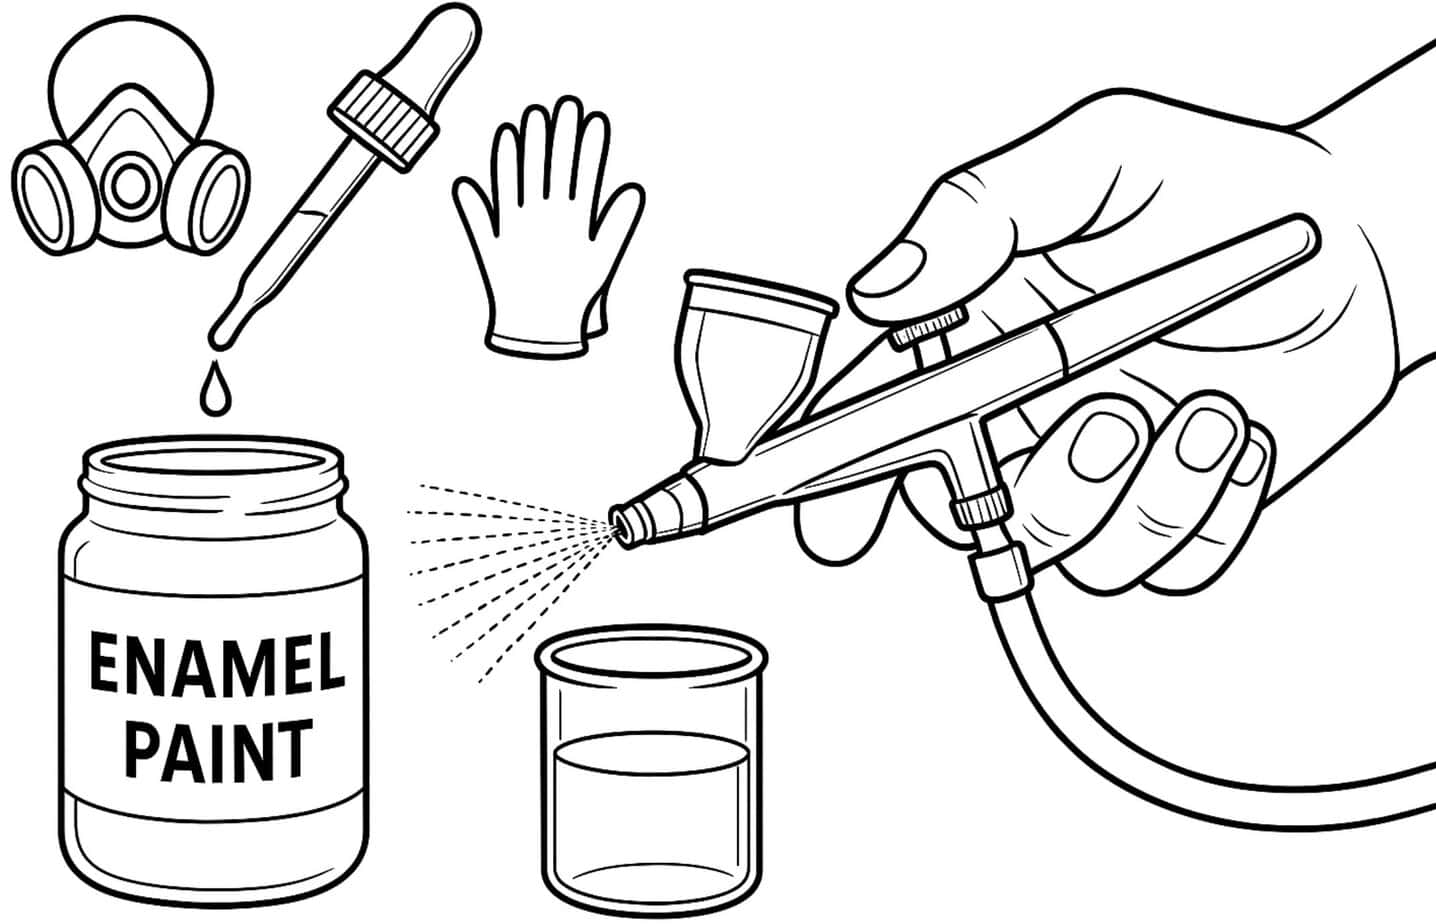
Safety Precautions When Airbrushing Enamel Paint
Enamels—especially solvent-based—produce fumes you don’t want in your lungs.
Always Use:
✅ A proper respirator rated for organic vapors
✅ Good ventilation (spray booth or open space)
✅ Nitrile gloves to protect your skin
✅ Eye protection
Recommended Products for Airbrushing Enamel Paint
Here’s the gear I trust when working with enamels:
- Thinners:
- Testors Enamel Thinner
- Humbrol Enamel Thinners
- Tamiya Enamel Thinner
- Airbrush Cleaners:
- Vallejo Airbrush Cleaner
- Testors Airbrush Cleaner
- Mixing Supplies:
- Small glass mixing jars
- Plastic pipettes for measuring precise ratios
- Safety Gear:
- 3M Respirator with organic vapor filters
- Nitrile gloves
FAQs About Airbrushing Enamel Paint
Can enamel paint ruin my airbrush?
Not if you clean it immediately after spraying. Hardened enamel is extremely tough to remove.
Can I thin enamel paint with water?
Only if it’s water-based enamel. Solvent-based enamels require enamel thinner or mineral spirits.
Is enamel better than acrylic for airbrushing?
It depends. Enamels are glossier and more durable but have stronger fumes and require tougher cleaning.
How long does enamel paint take to dry when airbrushed?
Generally 12–24 hours for full curing. Thin coats dry faster than heavy applications.
Conclusion
So that’s how to airbrush enamel paint like a pro!
✅ Thin your enamel properly
✅ Spray at the right PSI
✅ Clean your airbrush thoroughly
✅ Use protective gear to stay safe
Once you get the hang of it, enamels deliver a beautiful, durable finish that’s hard to beat.
Got more questions about thinning, cleaning, or spraying? Check out my other guides right here on Airbrush Insider. Happy spraying—and stay safe!
— Colt