Wondering if Your Airbrush Actually Needs a Compressor?
It’s one of the most common questions beginners ask:
“Does an airbrush need a compressor?”
The short answer: Yes, all airbrushes need pressurized air. But that doesn’t always mean you’re stuck buying a compressor.
There are alternatives—like CO₂ tanks or propellant cans—that can run your airbrush without the bulk, noise, or upfront cost of a compressor. But they each come with trade-offs.
Let’s break it all down so you know your options—and whether you can realistically airbrush without a compressor.
Why an Airbrush Needs Compressed Air (No Way Around It)
Whether you’re spraying fine lines on a model car or laying down broad color fades on canvas, an airbrush works by atomizing paint into tiny droplets.
That atomization only happens when paint mixes with pressurized air.
👉 Without compressed air, paint would simply drip out of the nozzle. No smooth mist. No precise spray patterns. Just a messy puddle.
So even if you’re using a gravity feed airbrush (which some folks think runs on gravity alone), you’ll still need air pressure to spray paint properly.
How Much Air Pressure Does an Airbrush Need?
Different airbrush types need different amounts of air pressure (measured in PSI—pounds per square inch):
| Airbrush Type | Typical PSI Range |
|---|---|
| Gravity Feed Airbrush | 15 – 30 PSI |
| Side Feed Airbrush | 20 – 35 PSI |
| Siphon Feed Airbrush | 30 – 45 PSI |
🔎 Gravity feed airbrushes require the least air pressure because gravity helps feed paint into the nozzle. Siphon and side-feed airbrushes rely on higher airflow to “pull” paint up from a bottle or side cup.
So… Does an Airbrush Need a Compressor?
Technically, no—an airbrush doesn’t “need” a compressor specifically.
It just needs pressurized air. And compressors are the most common, convenient way to produce that air on demand.
But there are perfectly valid airbrush compressor alternatives if you:
- Want maximum portability
- Can’t deal with noise
- Have limited space
- Are working on small, occasional projects
- Need to avoid power outlets (e.g. traveling)
Let’s explore all your options.
🔧 Airbrush Without a Compressor: Your Alternatives
1. Airbrush Propellant Cans
Propellant cans are basically spray paint cans filled with compressed air instead of paint.
✅ Advantages:
- Cheap upfront cost (around $10 per can)
- Super portable
- Totally silent (no compressor noise)
- No electricity needed
❌ Downsides:
- Each can lasts only ~10–15 minutes of spraying
- Air pressure drops as the can empties
- Cans get cold quickly, reducing pressure
- Expensive long-term for regular use
- Not airline-friendly (security restrictions)
Cost Comparison Example:
- 5 cans x $10 = $50 → that’s half the price of an entry-level quiet airbrush compressor!
- Dollar per minute: ~$1/minute of spray time.
💡 Bottom line: Good for testing the hobby or one tiny project. But if you plan to paint regularly, propellant cans become the most expensive way to airbrush.
{Consider adding a simple chart here: “Cost of Airbrushing with Propellant Cans vs. Compressor Over Time.”}
2. Large CO₂ Tanks
Another way to airbrush without a compressor is by using refillable CO₂ tanks.
These are basically giant versions of propellant cans—but with:
- Higher internal pressure
- More consistent airflow
- Refillable at gas supply shops
✅ Advantages:
- Completely silent operation
- No moisture issues
- Lower long-term cost than propellant cans
- Works anywhere—no electricity required
- Portable (depending on tank size)
❌ Downsides:
- Heavy and bulky if you choose large tanks
- Requires purchasing regulators
- Needs periodic refills (though refills are cheap)
- Safety considerations: always secure tanks to avoid tipping
Cost Example:
- 5-lb CO₂ tank: ~$100–$150 (one-time purchase)
- Refill cost: ~$10–$20
- A 5-lb tank could last several days of heavy airbrushing
🚨 Safety Note: Always store CO₂ tanks upright and away from heat. CO₂ displaces oxygen, so good ventilation is essential if spraying indoors.
💡 Bottom line: CO₂ is a solid alternative for silent operation and lower moisture risk, especially for hobbyists who don’t spray daily.
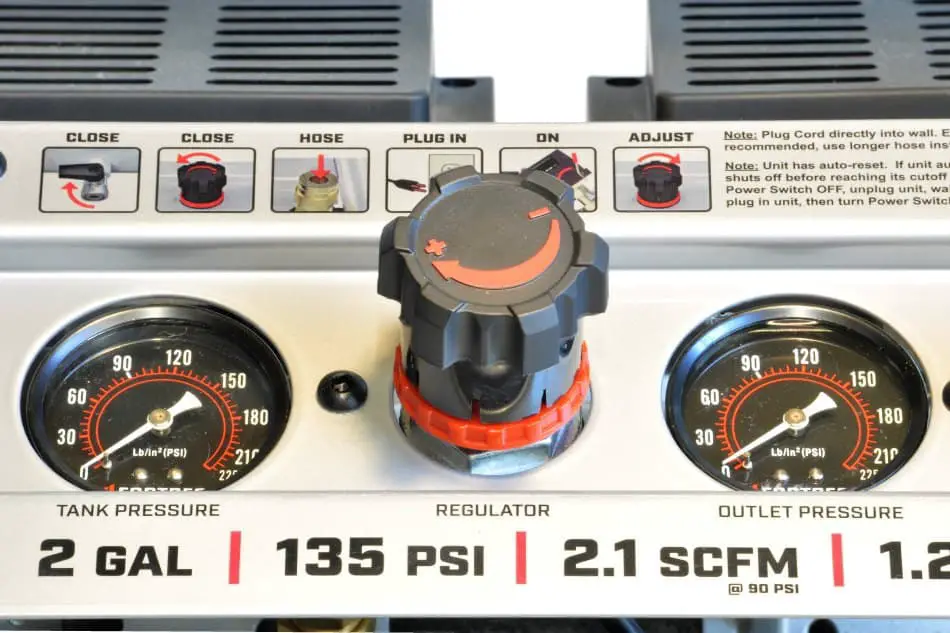
3. Airbrush Compressors – Why They’re Usually the Best Choice
Despite alternatives, a dedicated airbrush compressor remains the most practical choice for most artists—especially if you’ll paint frequently.
Modern compressors come in:
- Quiet models (<60 decibels) suitable for apartments
- Portable mini units
- Larger tanks for extended spraying sessions
✅ Advantages:
- Long-term cost savings
- No running out of air mid-project
- Better pressure control for fine detail work
- Some compressors include moisture traps
- Compact models exist for travel
❌ Downsides:
- Noise (though many models are now whisper quiet)
- Higher initial investment
- Slightly bulkier than CO₂ for travel
🤫 Quiet Airbrush Compressors: A Game-Changer for Hobbyists
If noise is your biggest concern, search for quiet airbrush compressors. Many modern units operate below 50–60 dB—like a conversation or background music.
For example:
- Sparmax TC-620X → ~48 dB
- Iwata Power Jet Lite → ~55 dB
These cost more upfront but are worth it if you’re airbrushing indoors or in shared spaces.
{Consider adding a comparison table of popular quiet compressors and decibel ratings here.}
Moisture Traps: Do You Need One?
A compressor pulls humid air from the room. As it compresses that air, moisture can condense inside your airline—and spit water into your paint. Not good.
💡 Pro tip: Invest in a moisture trap if you’ll use a compressor. Some compressors have them built-in.
CO₂ tanks and propellant cans don’t generate moisture, so they don’t need traps.
Cost Comparison: Compressor vs. CO₂ vs. Propellant
Here’s how costs stack up over time for someone airbrushing 1–2 times per week:
| Option | Upfront Cost | Ongoing Costs | Best For |
|---|---|---|---|
| Propellant Cans | Low ($10/can) | Very high long-term | Rare, tiny projects |
| CO₂ Tank + Regulator | Moderate ($120+) | Low refill cost | Silent hobby use |
| Compressor (Quiet) | Higher ($150–$300) | None, minimal maintenance | Frequent or serious use |
The Cheapest Way to Airbrush?
If you’re truly on a tight budget:
- Buy one or two propellant cans to test airbrushing
- If you enjoy it, upgrade to a small compressor
- Don’t stay on cans long-term—it’s the priciest way to airbrush
Alternatively, check local classifieds for used compressors. Many hobbyists upgrade and sell older gear at excellent prices.
Can You Airbrush Without Electricity?
Technically yes—with:
- Propellant cans
- CO₂ tanks
…but the limitations make them practical only for short sessions or travel.
For regular projects, a compressor (plugged into power) is by far the most reliable solution.
So… Does an Airbrush Need a Compressor?
✅ YES — It always needs pressurized air.
🚫 NO — It doesn’t strictly have to come from a compressor.
Alternatives like CO₂ tanks and propellant cans exist—but they bring higher costs, shorter spray times, and logistical headaches if you plan to airbrush often.
My advice? If you’re going beyond small projects:
- Buy a decent airbrush compressor.
- Look for quiet models if noise is a concern.
- Pair it with a moisture trap for clean, consistent spraying.
And if you’re curious about specific compressor models, settings, or troubleshooting, check out my other guides here on Airbrush Insider!
🎯 Final Takeaway
An airbrush needs air pressure—period. Whether that comes from a compressor, CO₂ tank, or propellant can is up to your budget, space, and how often you plan to paint.
But for most artists, an air compressor is hands-down the best long-term investment.
Happy airbrushing!
— Colt